Hope you enjoyed part 1 of the guide.
Continue to read the following to complete the Udemy course creation guide!
Welcome to part 2 of the guide…
Create — Flim & Edit
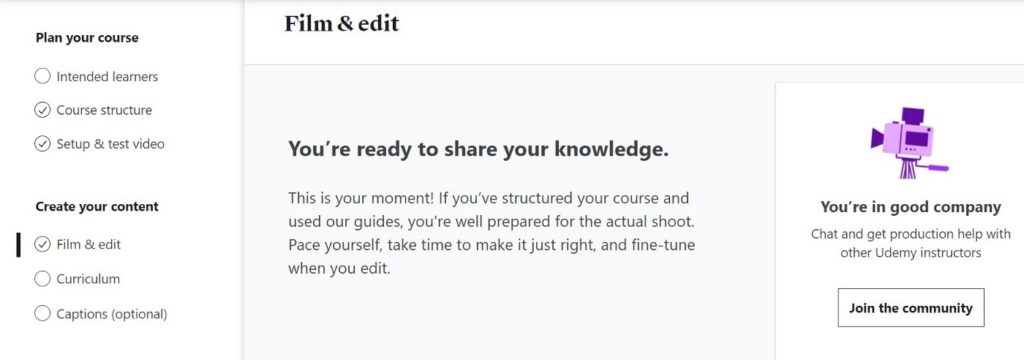
The first section of ‘Create’ is Flim and Edit. This means that once the Udemy team gives you the green light for your test video, you can go ahead and start recording the lessons for your course!
At this point, you can also join the Udemy community where you can ask any questions or opinions from other experienced Instructors.
Create — Curriculum
Congrats that you have made it so far! Once you have finished recording all the lessons, it is now time to upload them!
Before you upload your videos, you need to create the ‘skeleton’ for your course. I call it the structure of your course. You do this under the curriculum section.
Under the curriculum section, you need to first create a section that will contain the lessons under this section. For example, you can start by creating a section called ‘Introduction’. Then create the lectures inside this ‘Introduction’ section.
Then repeat the other sections until all the section and lectures structure are completed.
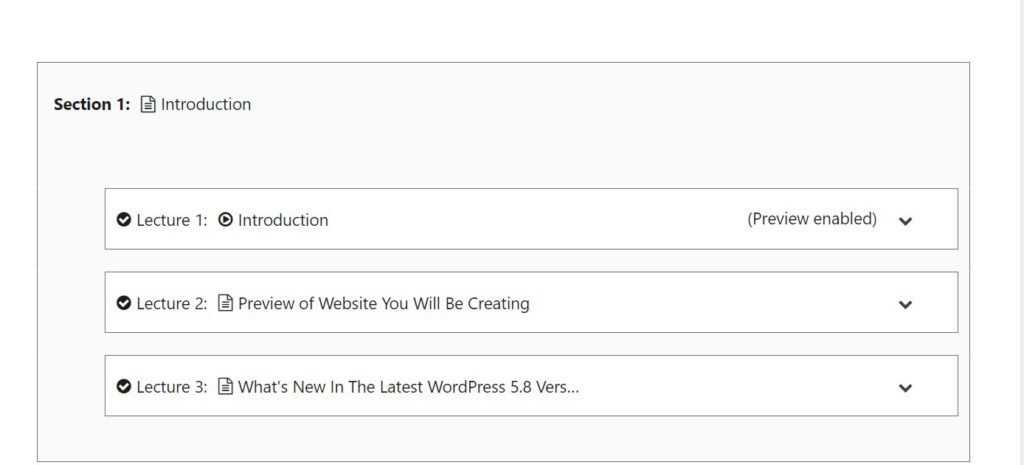
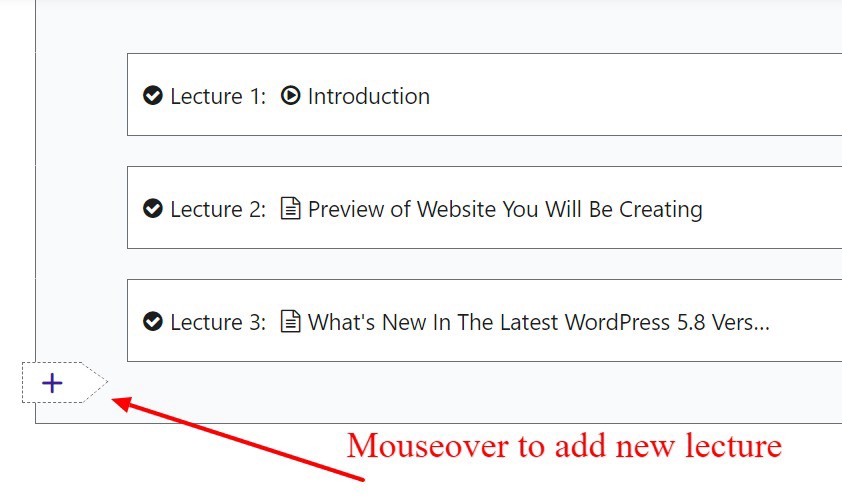
Once you have completed the structure, then click the dropdown of each lecture and you will see the screen below.
You just need to choose the ‘Video’ then it will ask you to upload the video for that lecture.
Repeat these steps for all your lectures and it’s done!
You will also get an email once the video has been uploaded successfully.

Tips: You will notice that Udemy requires you to select some of your lectures to be featured as free previews. The free preview is a feature that allows anyone to watch those lectures for free before the purchase decision. You are required to select a minimum of 10 minutes worth of video content as free previews. So make sure you leverage this opportunity to showcase some of your best lessons!
Create — Captions (Optional)
You will notice that the last item under the ‘Create’ section is ‘Captions’. But fortunately, you do not need to provide captions at the moment. You can do so after your course is approved =)
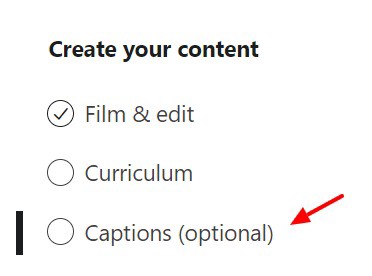
Tips: Once your course is approved by Udemy, all your lectures will have auto-generated captions (done by Udemy). This is the good news. The not-so-good news is that you need to edit these auto-generated captions because I find that there are quite a lot of errors in them. But honestly, I thank Udemy for this feature because editing the captions is faster than compared if I were to type in the captions from scratch.
Publish Your Course — Course Landing Page
This is probably the last item that requires another significant block of your time. Once you have cleared this part, it will be very very close to submission of the course! Stay close and keep up the momentum!
The first part in the Course landing page item is to enter your course title, subtitle and description.
Take note that for the description, you need to enter more than 200 words.
Tips: Course title is an important part of your course optimization. When you submit your course for approval, you will also get to confirm your course URL. Your course URL can’t be changed in the future but you can change your title anytime. So you may want to have a general URL just in case you change the title in the future.
There are also quite a lot of things to take note of when optimizing your course title and sub-title. I will write another post on title optimization in the future.
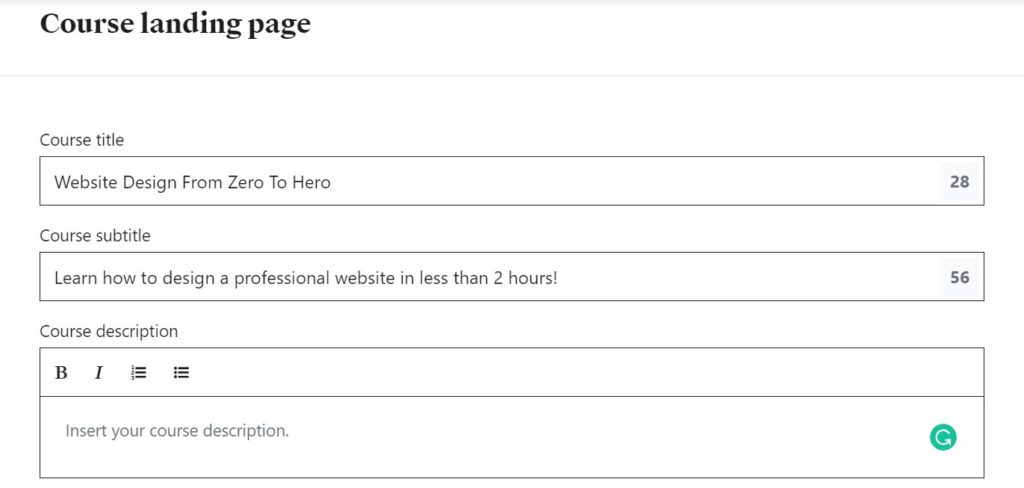
Once you are done with the title, subtitle and description, it is time to select the category for your course. For my example, I selected Development >> Web Development.
You also need to choose the level of your course materials. Unless it is a very advanced and technical course, if not, I will choose ‘All Levels’ most of the time.

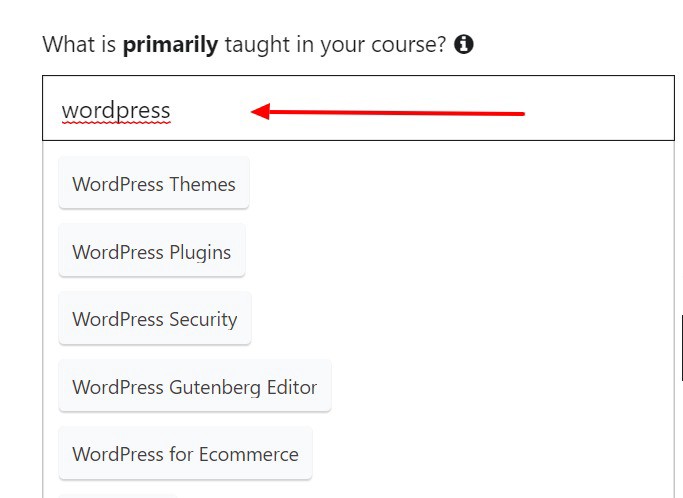
Next, you need to enter the main topic that your course will be covering. For me, I enter ‘WordPress’ and the suggestion appears (as shown below) for your selection. Most topics with demand will have related suggestions once you enter the main category.
The next thing is to upload a course image. There are quite a few things to take note if this is the first time you upload a course image. My suggestion is to read Udemy course image quality standards.
Basically, you need to get an image that is clean (without any distractions), contains no text, and sends a clear message.
For a start, I don’t suggest you hire a graphic designer as you can change it anytime in the future. I suggest you can just go to pixabay.com and download one free image there and upload it as your course image. This is what I did for my latest course.

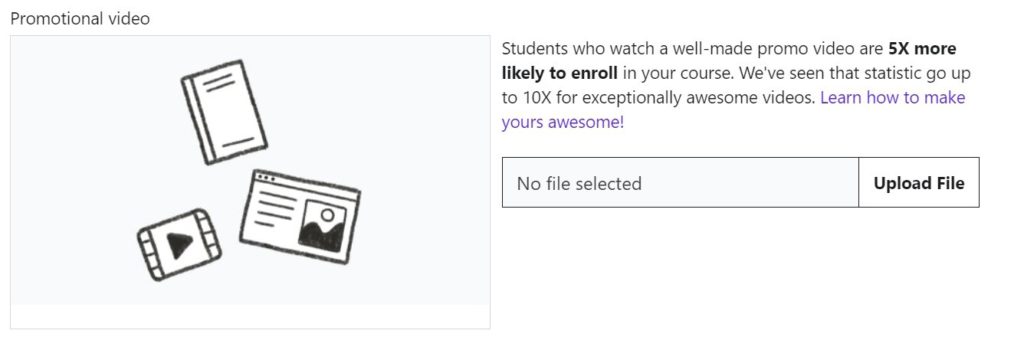
You will also need to upload a 2-minute video to act as the promotional video for visitors to see once they land on your course page. This is a great and simple guide on what should you say in your 2 minutes promo video.
Once all the above is done, let’s move on to the next item!
Publish Your Course — Pricing
The next part is to decide how much you will be selling your course in Udemy!
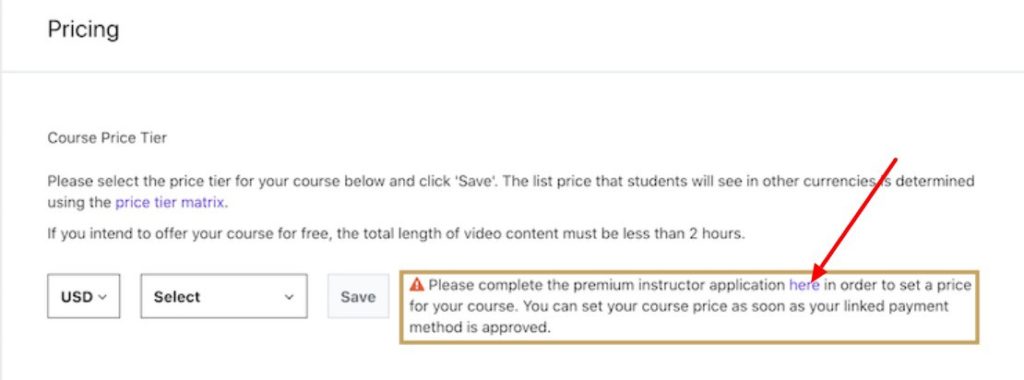
There are a few things to take note of. First, you need to apply to be a premium instructor before you can set a price. So click on the link (shown on the below screenshot) and apply for it.
The application also requires you to select a preferred payment to get paid by Udemy. Udemy currently pays Instructors by PayPal Or Payoneer.
Pricing strategy is also an important part of Udemy in order to be successful. I will be covering pricing strategy in another blog post in near future. For now, you can select a price after taking some references from some of the similar courses listed on Udemy.
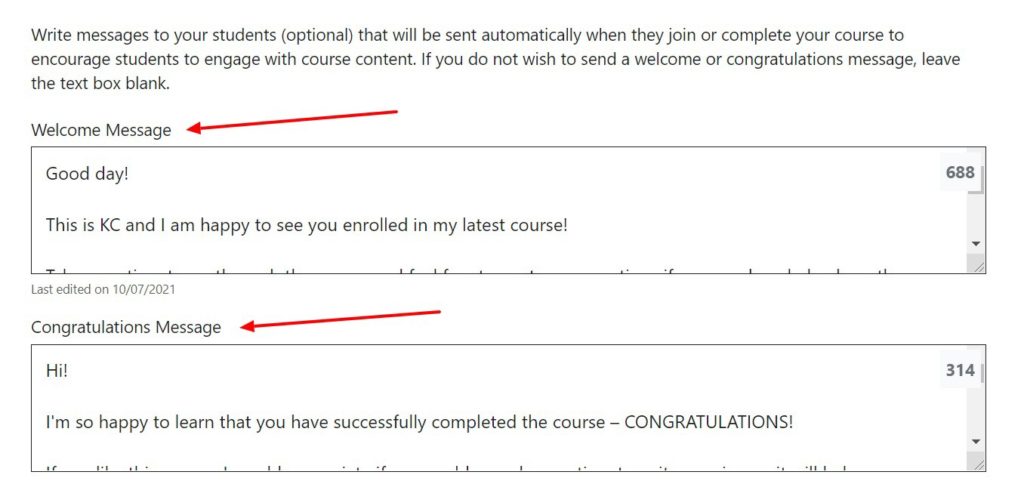
Publish Your Course — Course Messages
For this last item, it is optional for now. You can submit your course for review if you want.
Once your course is approved, I would suggest you come back here to enter a welcome and congratulations message.
The welcome message will be sent to the new learner when he/she signs up for your course. Typically, the Instructor will welcome the new learner in this message and ask them to post any questions (if any) in the Q&A section. You can also use this message to motivate them to start the course as soon as possible!
As for the congratulations message, it will be sent to those learners who finished watching the last lesson in your course. Most of the time, you will want to encourage them to take action after they have learned from you. You can also use this chance to ask them to write a review for your course if they like it.
Special Note: Do not offer any incentives to learners and ask them to write a 5-star review in exchange as this is not permitted in Udemy and will result in a penalty if you do that!
Submit for Review
Now it is time for you to hit the nerve-wracking button!
Once you submit your course for review, it will take a few business days for the Udemy team to approve your course. You will receive the Congratulations email if your course is approved. If not, Udemy will send you an email on some things to work on before they approve your course. As long as the issue is not with your audio quality, it can be easily fixed most of the time.
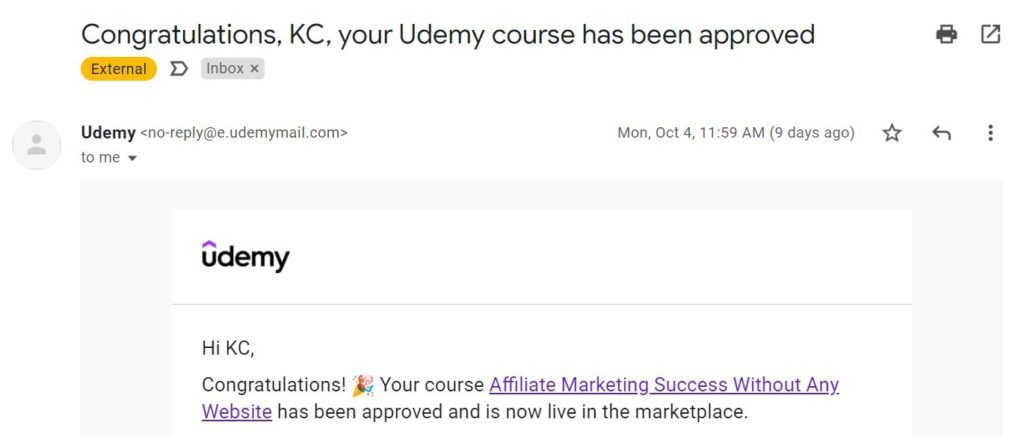
Once you got your first course approved, your second and future courses normally will be approved at a faster rate (based on my experience).
