If you just created a WordPress website and wanted to have a contact form for your website visitors to reach you, and you do not want to install any plugins for the contact form, then this blog post is ideal for you!
In this case, you can use services like jotform.com so that you can embed a contact form into your website. I will show you the steps on how to do this in this blog post below.
But first, I need to let you know the pros and cons of using jotform.com service instead of a typical WordPress contact form plugin.
Pros (using jotform.com):
- Do not need to maintain (update) any contact form plugin.
- Will not slow down your website.
- Minimize hacking due to plugin file vulnerability.
Cons (using jotform.com):
- Limited contact form features (need to pay if you need more features).
- The free plan allows you to have 100 monthly submissions, and 1000 monthly form views (you can check their pricing page for other features here)
- You have no control over the free plan. Jotform.com may decide to remove the free features in the future (unlikely but not impossible).
So my suggestion is if you have a new and basic website and do not have more than 1000 monthly visitors and you are sure you are not going to have at least 100 visitors using your contact form every month, then you can safely use jotform.com (free version).
The following are the steps on how you can set up a contact form on your website using jotform!
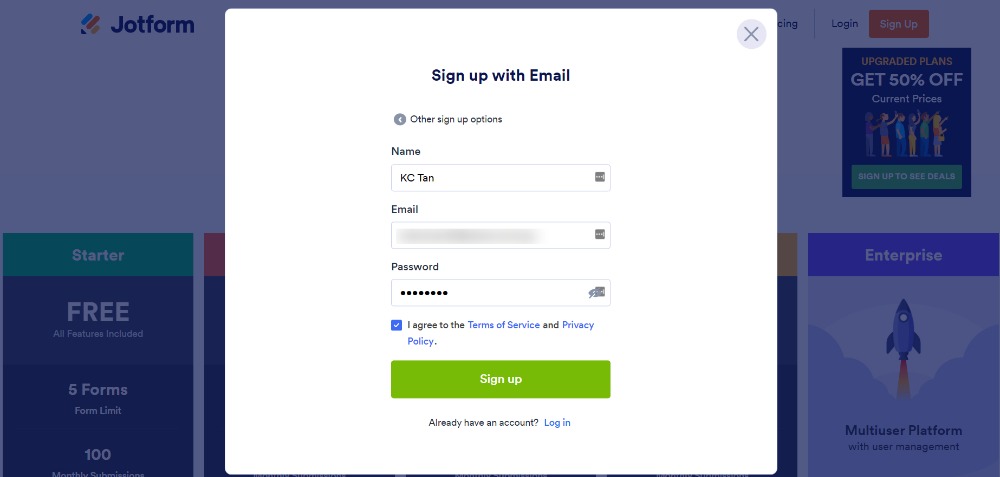
Step 1 – Sign up for a free account over at jotform.com
The first step is to go over to jotform.com and click on the Sign Up to get a free account!
Step 2 – Create your contact form
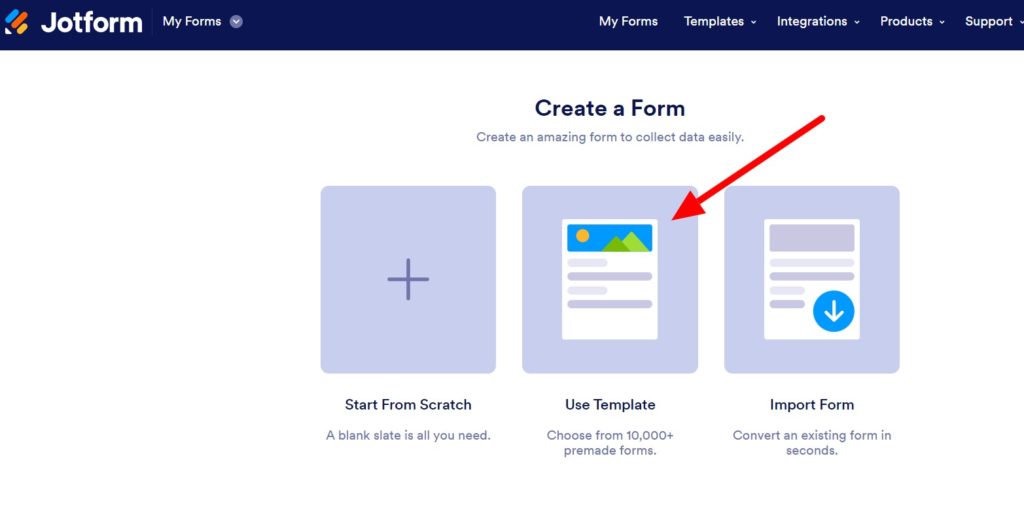
Once you have verified your new jotform account, you can start to create your first form.
The fastest way is to choose the ‘Use Template’ after you click on the ‘Create Form’ link.
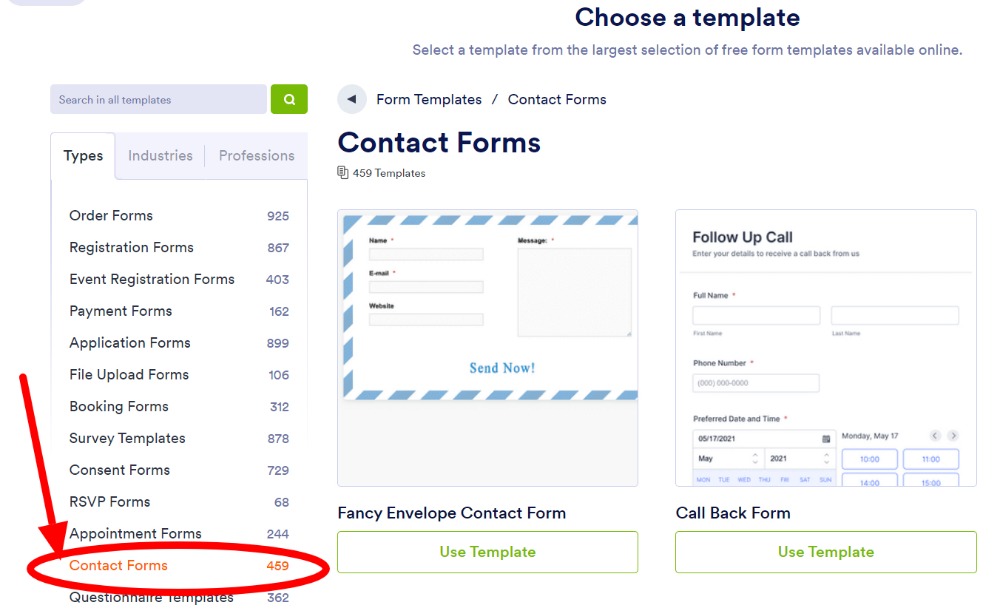
On the next page, choose the ‘Contact Forms’ under the ‘Types’.
You will see lots of contact form templates that you can choose. Take your time and select one that suits your website style and your needs.
Once you have selected a design, the next page allows you to add more fields to your contact form.
You can add in other fields like a mobile number if you need your visitors to enter this information.
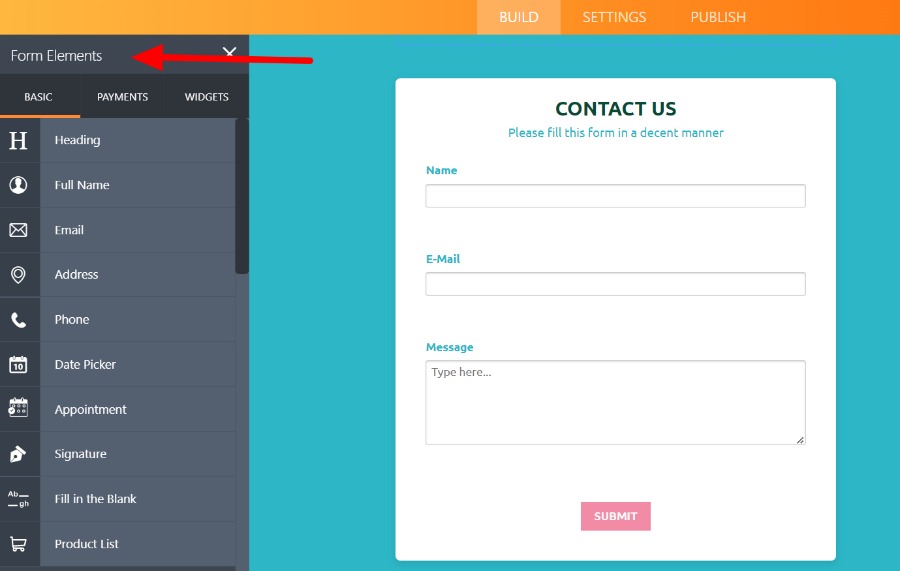
Once you are done with adding of extra elements, you can click on the ‘Settings’ tab as shown below.
This is where you create notifications that you will receive whenever someone uses your contact form.
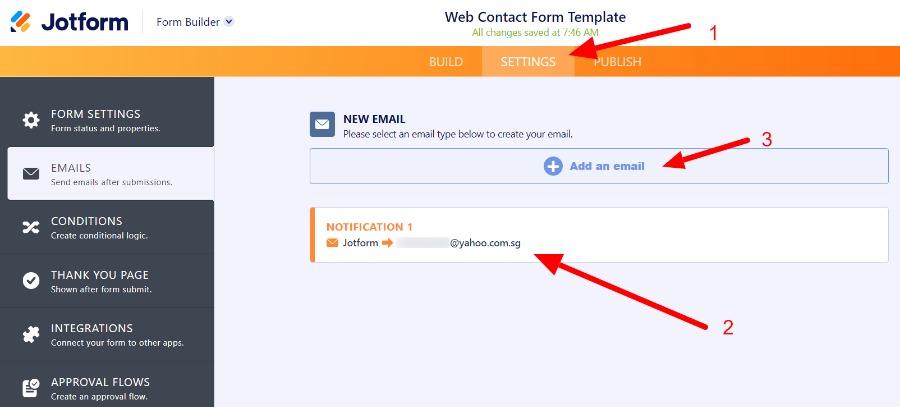
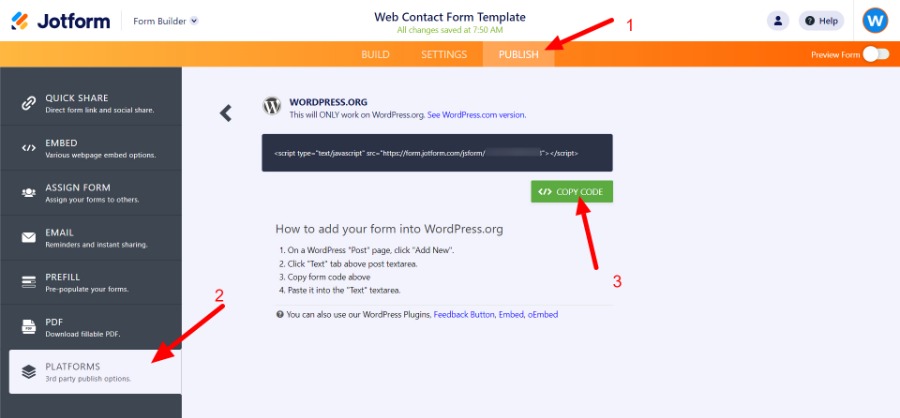
Once done, click on the ‘Publish’ tab.
Follow the steps below to get the HTML coding so you can paste in your WordPress website.
Step 3 – Displaying your contact form
Now, head over to your own WordPress website.
Add a new page then add an HTML block so you can paste in the codes that you have copied from jotform.com.
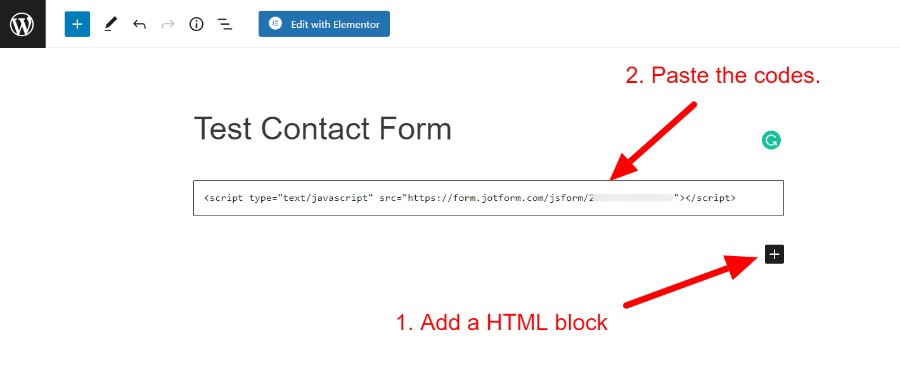
Once you have pasted in the codes, save the page and take a look and you will see the contact form!
Mine looks like:
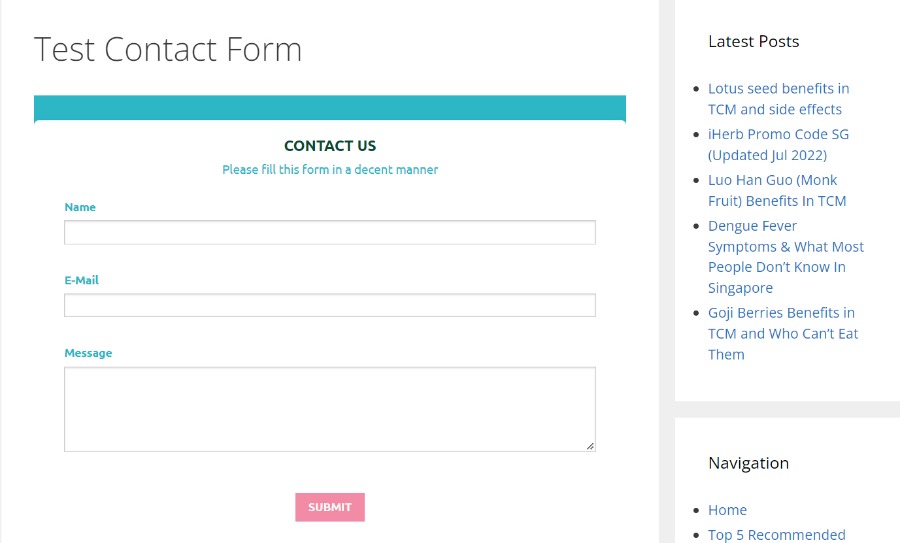
So there you have it!
You can create a contact form for your WordPress website without using any plugins and doing the coding yourself!
Hope you find this post useful
