I have been an Instructor with Udemy since 2014 and for these past 3 years, I found that students are more likely to take up my online courses if they are captions / subtitles included. The following is a message I extracted from one of my recent students.
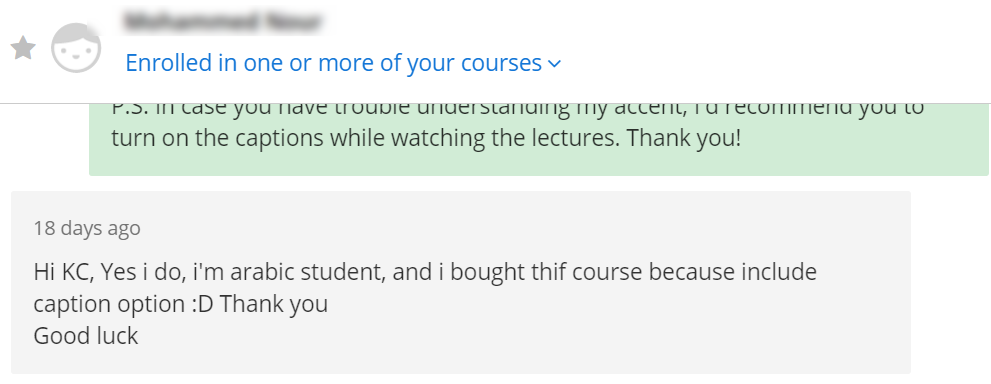
It takes me a while to figure out how to include captions in my videos and I believe many Udemy Instructors are looking for an efficient way to add captions to their courses. The following is my way of creating captions using YouTube. I hope that this post can help many other Instructors there.
The Process
Before I go right into the exact steps, I would like you to have an idea how the whole process works so that you can have the big picture in mind.
First, you need to record your course video (it can be screencast or talking head, doesn’t matter). Second, upload this video to Youtube and you will type in the words (this is where your caption comes from – yourself!) as the video plays. Lastly, extract the caption file from YouTube.
As you may have guessed, the most time-consuming part is the typing of words while you listen to your own video in YouTube. Thus, I always outsource this part because I would prefer to do something else than typing in the captions. Having said that, I leave it to you whether you want to do it yourself or now. The following are the steps:
I – Login to your YouTube account. (If you don’t have one, please go and create one! Because you can use youtube to market your Udemy courses!)
II – Upload all your videos to YouTube and set it to private (because you do not want others to see your videos on YouTube!)
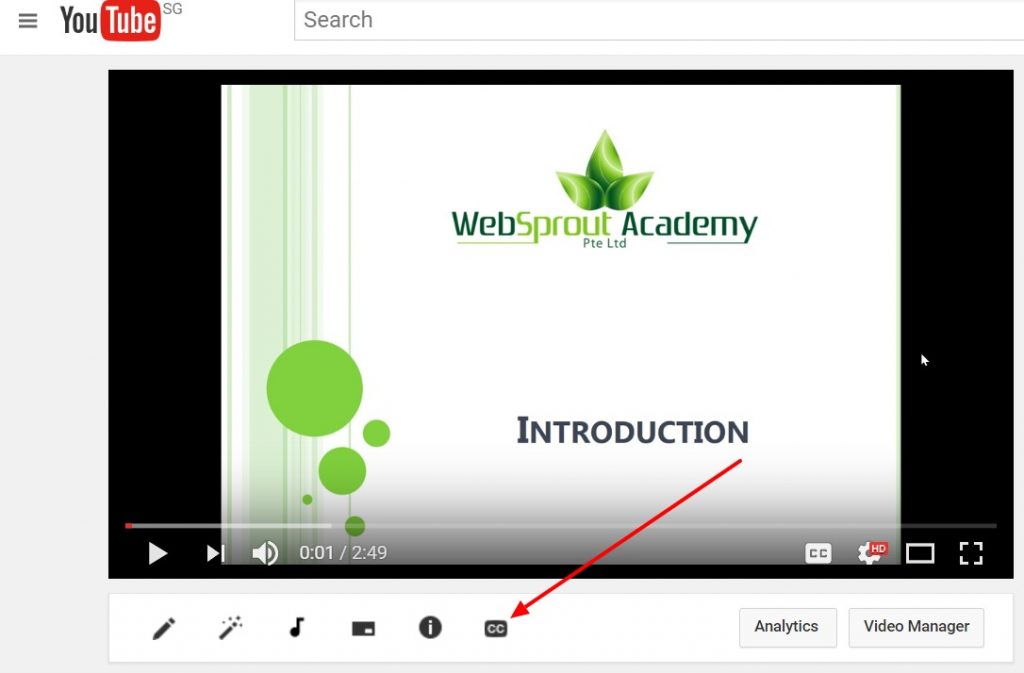
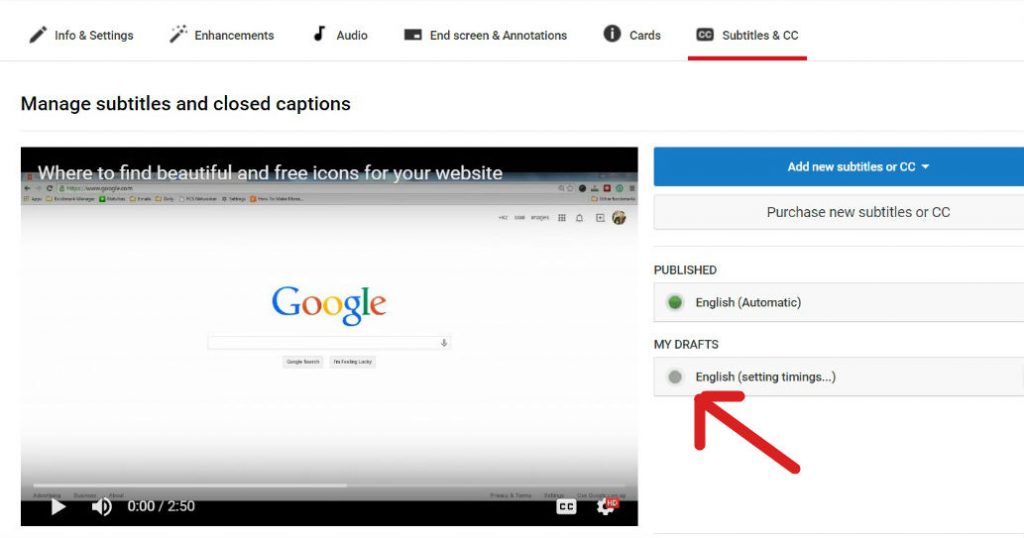
III – Once the videos are uploaded. Click on your first video and then click on the Subtitle & CC icon as shown below.
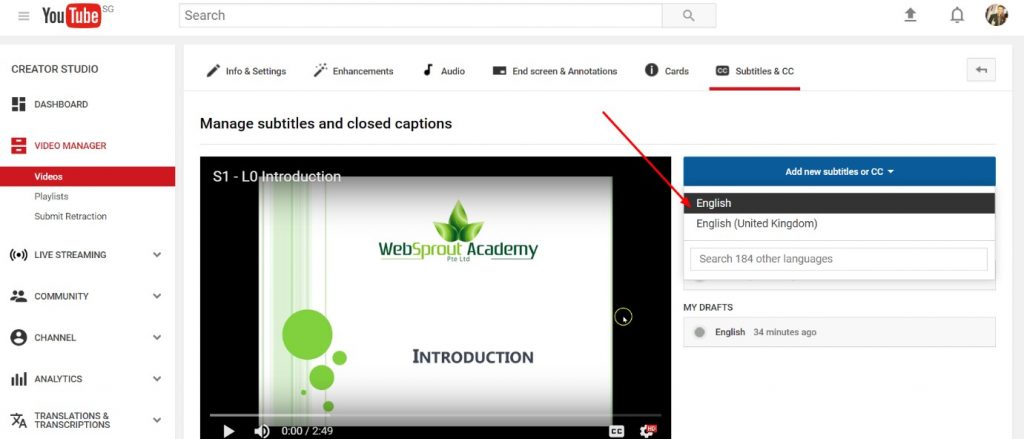
IV – Click on ‘Add new subtitles or CC’ and select ‘English’, this is to add English caption (shown below).
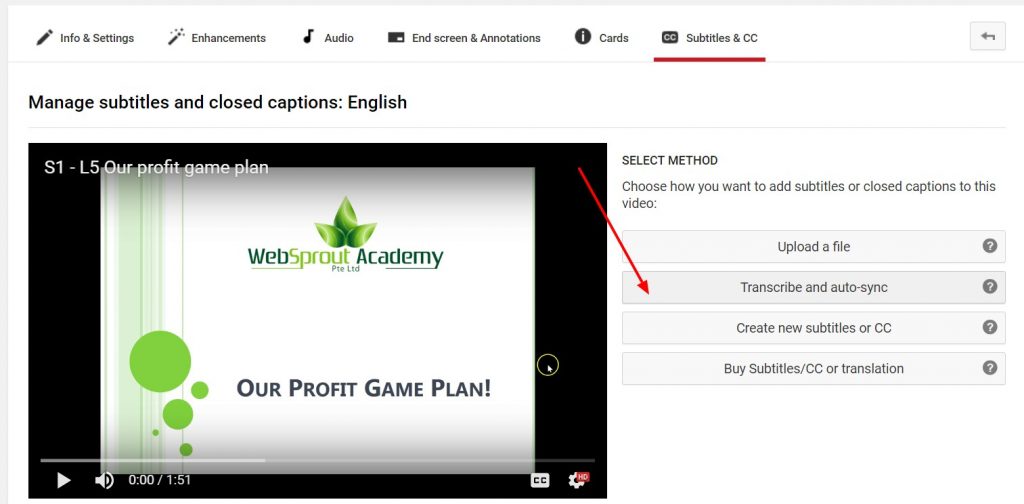
V – Click on the ‘Transcribe and auto-sync’ then enter all the text, while the video is playing. Double check for spelling once you entered everything. (this will be the most time consuming part!)
VI – Once you checked all the spelling, click on the ‘Set Timings’.

VII – Check the subtitle display correctly in the video and publish the caption.
VIII – Once it is published, click the Actions >> download, to download the .VTT caption file.
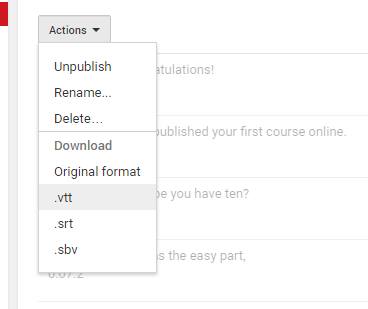
IX – You are done! I want to thank Scott Duffy from videocourses.ca for sharing with me that now .VTT can be directly downloaded from YouTube (the only requirement is you need to publish the caption first).
So now you have it! I hope you find this blog post useful!
Do share with me if you have other ways of adding captions to your Udemy course. Look forward to hear from you!
P.S. If you are keen to learn how to create a profitable Udemy course, I have one here.